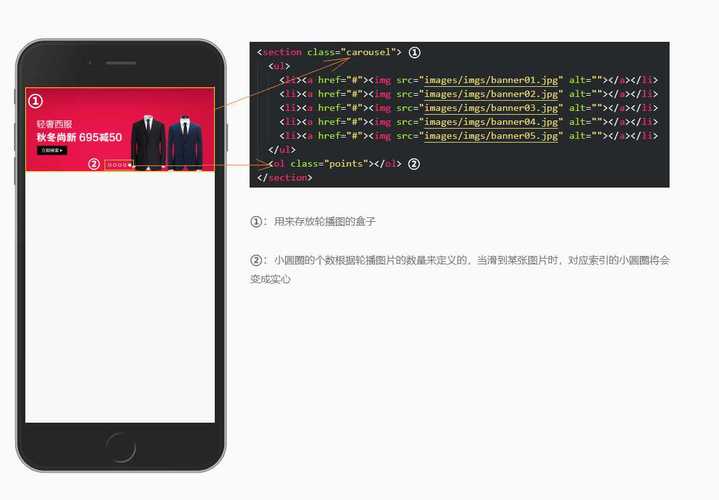
在HTML中实现图片轮播,可以使用JavaScript和CSS,以下是一个简单的示例:,1、创建一个HTML文件,添加以下内容:,2、接下来,在
<style>标签内添加CSS样式,设置图片轮播的宽度、高度和过渡效果:,3、在
<script>标签内添加JavaScript代码,实现图片轮播的功能:,现在,当你打开这个HTML文件时,你应该能看到一个图片轮播效果,你可以根据需要修改图片路径、宽度、高度等样式。,
 ,<!DOCTYPE html> <html lang=”en”> <head> <meta charset=”UTF8″> <meta name=”viewport” content=”width=devicewidth, initialscale=1.0″> <title>图片轮播</title> <style> /* 在这里添加CSS样式 */ </style> </head> <body> <div class=”carousel”> <img src=”image1.jpg” alt=”图片1″ class=”carouselimage”> <img src=”image2.jpg” alt=”图片2″ class=”carouselimage”> <img src=”image3.jpg” alt=”图片3″ class=”carouselimage”> </div> <script> // 在这里添加JavaScript代码 </script> </body> </html>,.carousel { width: 500px; height: 300px; overflow: hidden; position: relative; } .carouselimage { width: 100%; height: 100%; position: absolute; opacity: 0; transition: opacity 1s; },const carouselImages = document.querySelectorAll(‘.carouselimage’); let currentIndex = 0; function showNextImage() { carouselImages[currentIndex].style.opacity = 0; currentIndex = (currentIndex + 1) % carouselImages.length; carouselImages[currentIndex].style.opacity = 1; } setInterval(showNextImage, 3000); // 每隔3秒切换一张图片,
在html中如何实现图片轮播
版权声明:本文采用知识共享 署名4.0国际许可协议 [BY-NC-SA] 进行授权
文章名称:《在html中如何实现图片轮播》
文章链接:https://zhuji.vsping.com/429640.html
本站资源仅供个人学习交流,请于下载后24小时内删除,不允许用于商业用途,否则法律问题自行承担。
文章名称:《在html中如何实现图片轮播》
文章链接:https://zhuji.vsping.com/429640.html
本站资源仅供个人学习交流,请于下载后24小时内删除,不允许用于商业用途,否则法律问题自行承担。

 国外主机测评 - 国外VPS,国外服务器,国外云服务器,测评及优惠码


